

By Jeff Yestrumskas | June 8, 2019

Last Updated: 2019-10-10
This post is part 1 of 2. Visit Part 2 of 2 for spoilers and behind the scenes info.
This is a short history and overview of the badge, which has been in the works for the better part of a year. The irony is not lost that while my focus most of this century has been on the offensive side of security, that this project has resulted in the official badge for the.. Blue Team Village. This page will be vague at times, as things are still in development and also to leave a few surprises for those who obtain a badge. However, it will be updated with additional information as we get closer to the conference.
The idea for this badge started just before DEF CON 26, when I turned a small Linux based computer into a portable WIFI AP, with always-on VPN, network-wide ad blocking and an LCD screen for simple configuration. The goal was to serve as an AP that would provide VPN access to connected hosts while in a “hostile” (i.e. untrusted, hotel, airport, etc) environment. However, we were not very far away from adding honeypot functionality, so that was implemented on the plane ride on the way over to DEF CON 26, as is tradition. At this point, the devices had two modes, protected AP mode and honeypot mode. However, it wasn’t quite as portable as a wearable electronic conference badge. Thus, after a painstakingly large number of prototypes and revisions, the device slowly became more portable and evolved into a single PCB with screen, quite suitable for an electronic badge.
Having personally attended DEF CON for now 20 years, much of the wild-west early days are long gone. This badge is somewhat of a throwback to those days, providing a portable WIFI honeypot as a target in which badge holders score points based on the number of attackers enticed to connect to the badge and services. This is not enabled by default, but must be turned on by the badge user as there are obvious risks. But, what fun can be had without taking a risk?
Yes, this is a wearable honeypot. When enabled, the badge will broadcast an open Wi-Fi AP and serve as a captive portal, funneling all traffic through the badge for connected clients. There is an SSH honeypot with full session replay right on the badge’s display. There is simple scoring, with points awarded when a client connects to the AP, and then to each of the services. When attempting to run a semi well-known ICS honeypot on the badge, it crashed anytime it was hit with a port scan. Sometimes the jokes write themselves.
We’ve also added the HoneyDB agent on the badge. HoneyDB is a community driven honeypot sensor data collection and aggregation service. Running the agent allows for a large number of low to medium interaction honeypots. A badge can then submit logs within the Blue Team Village for upload directly to https://btv.honeydb.io, a custom dashboard built specifically for the Blue Team Village.
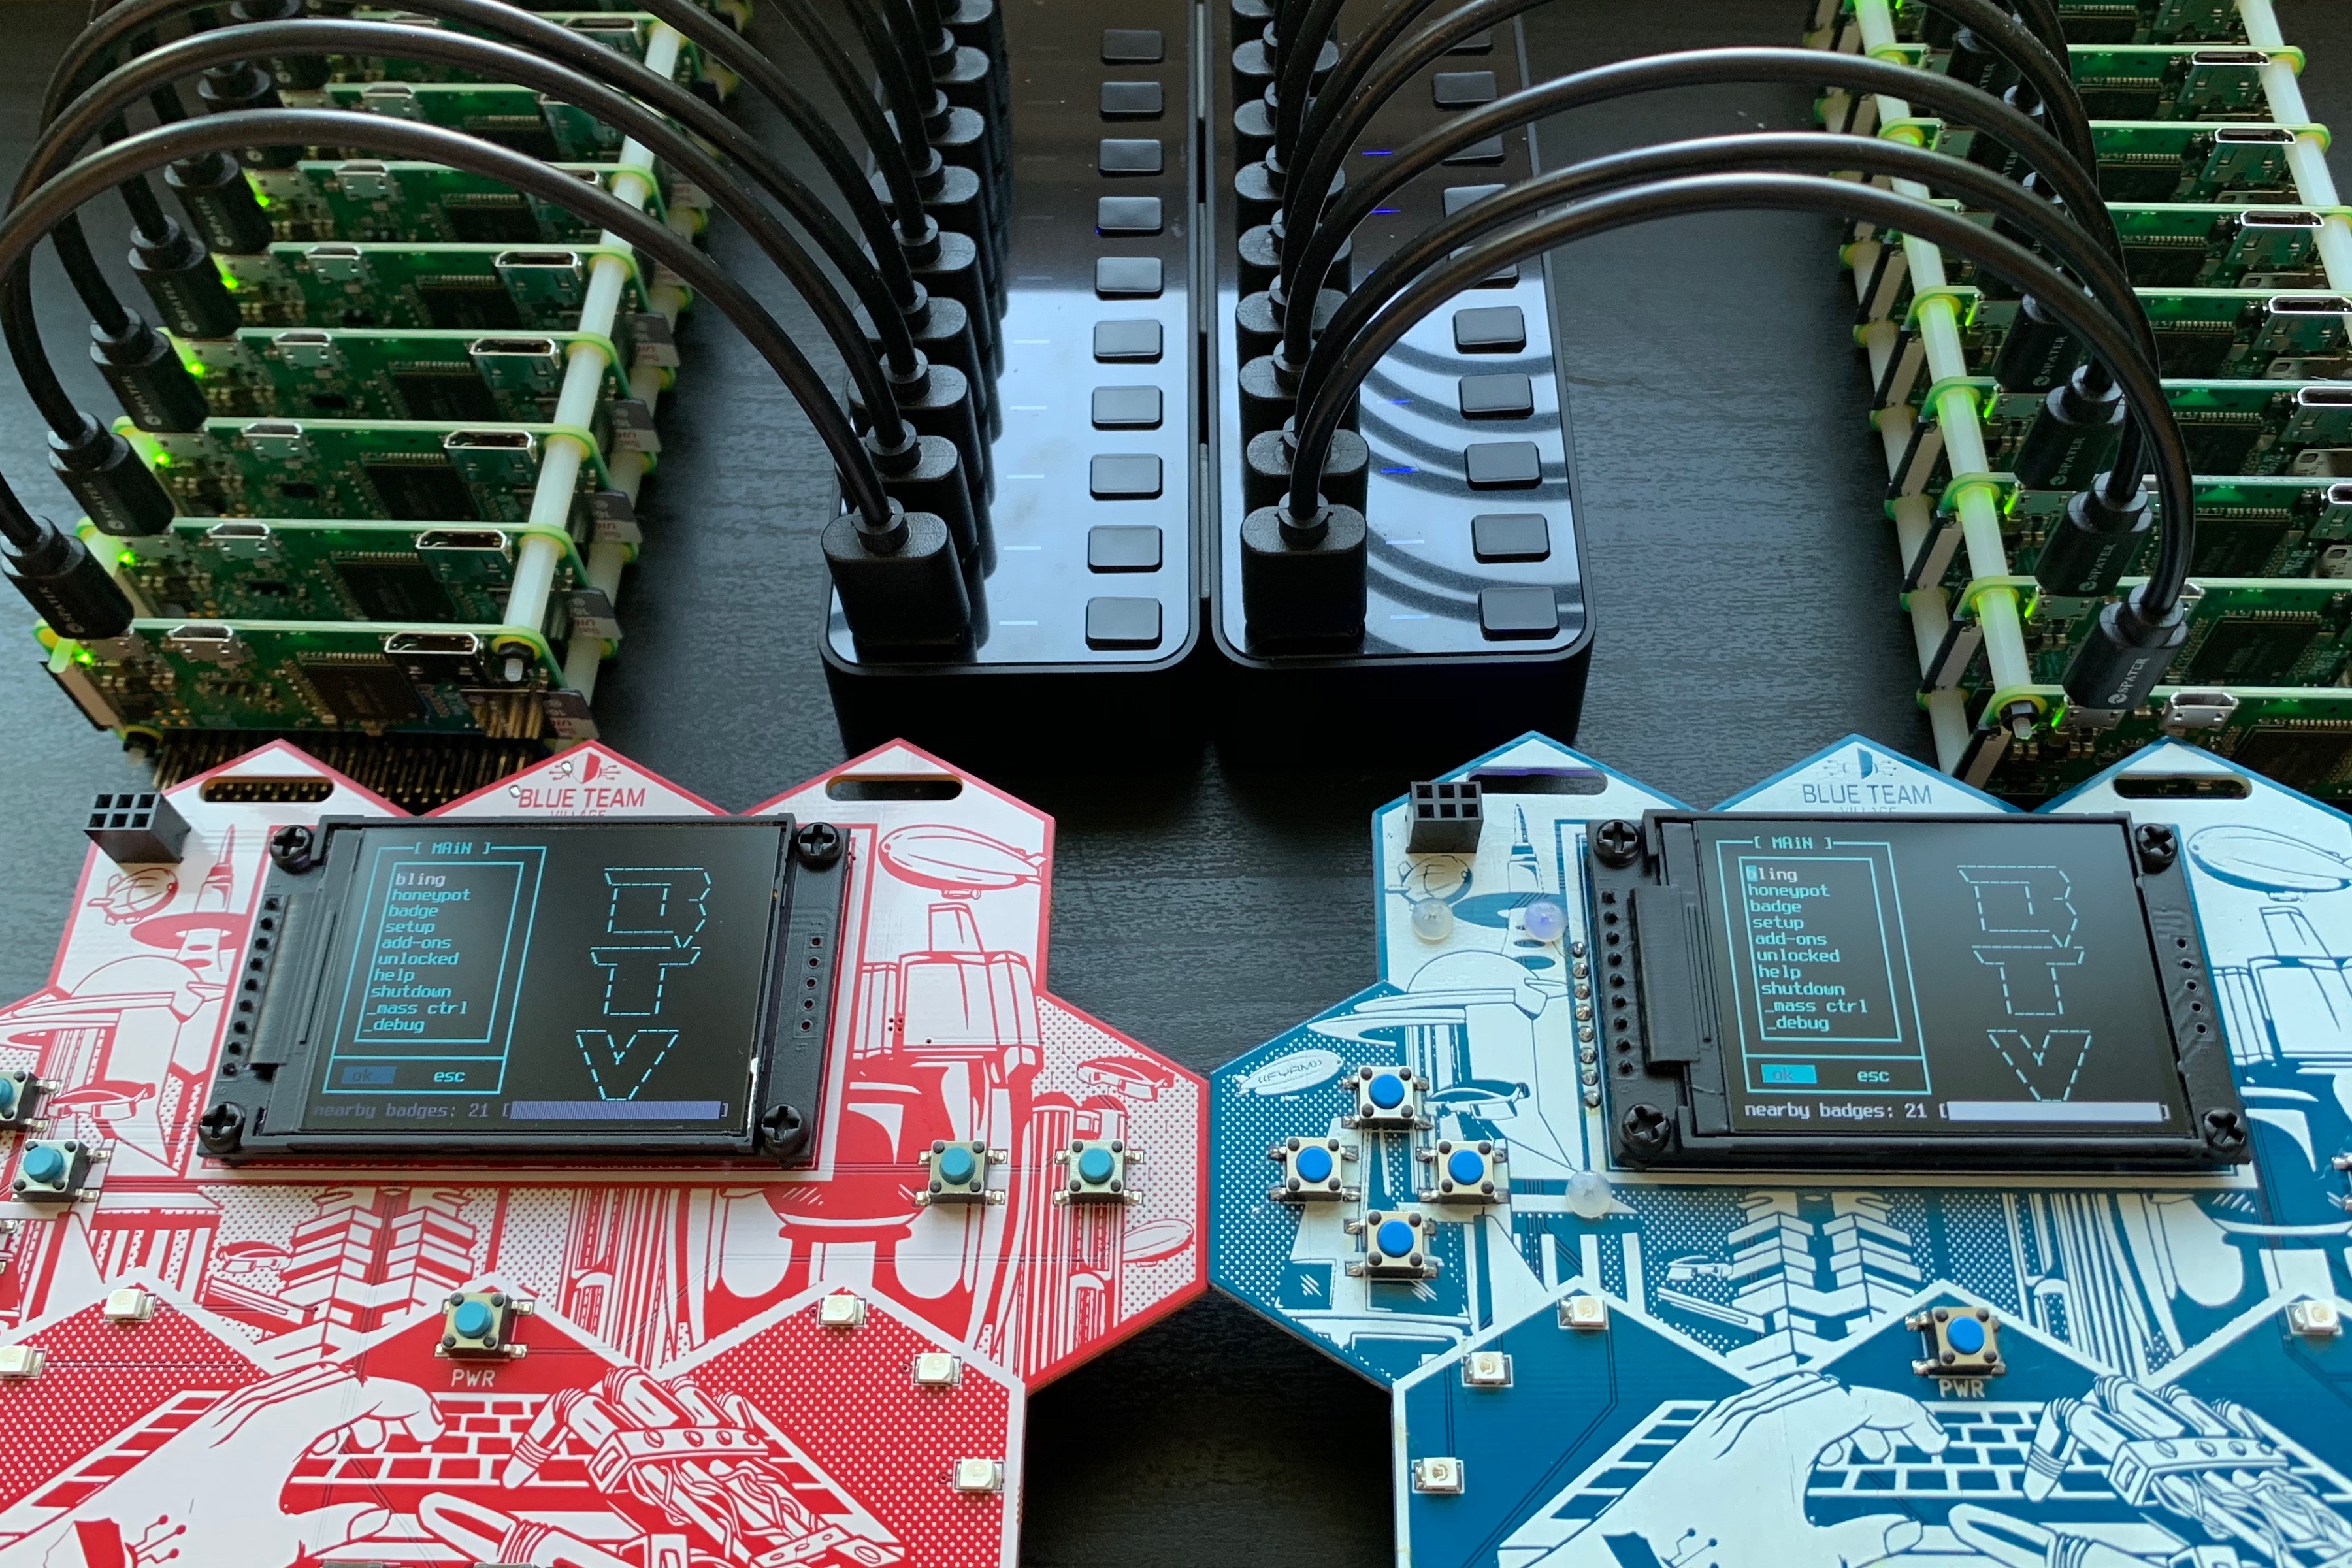
When not in honeypot mode, badges communicate via 802.11 to maintain scoring, and encourage socialization - hey, you’ve gotta be within proximity of each other to “sync” badges. It is a fully decentralized network, so zero configuration protocols are the key and are fully in use.
To sync with another badge, no real custom protocols or services were created. Instead, we create a fake zeroconf service announcing that the badge user wishes to sync with a target badge. When the target badge sees the broadcast from the announcing badge, it then has the option to accept the request.
Unlockable features are protected with secret keys and AES, using input derived from button presses. This is probably the most straight forward method to protecting data on the device, even while leaving the remainder of the filesystem completely unencrypted. The user is given an opportunity to enter a sequence of button presses, and if the sequence plus salt matches a hash, the sequence plus salt is used as the secret key to decrypt the addon.
The inevitable bugs are likely to be discovered after release, so being able to provide emergency updates at the conference in a hostile computing environment is necessary.
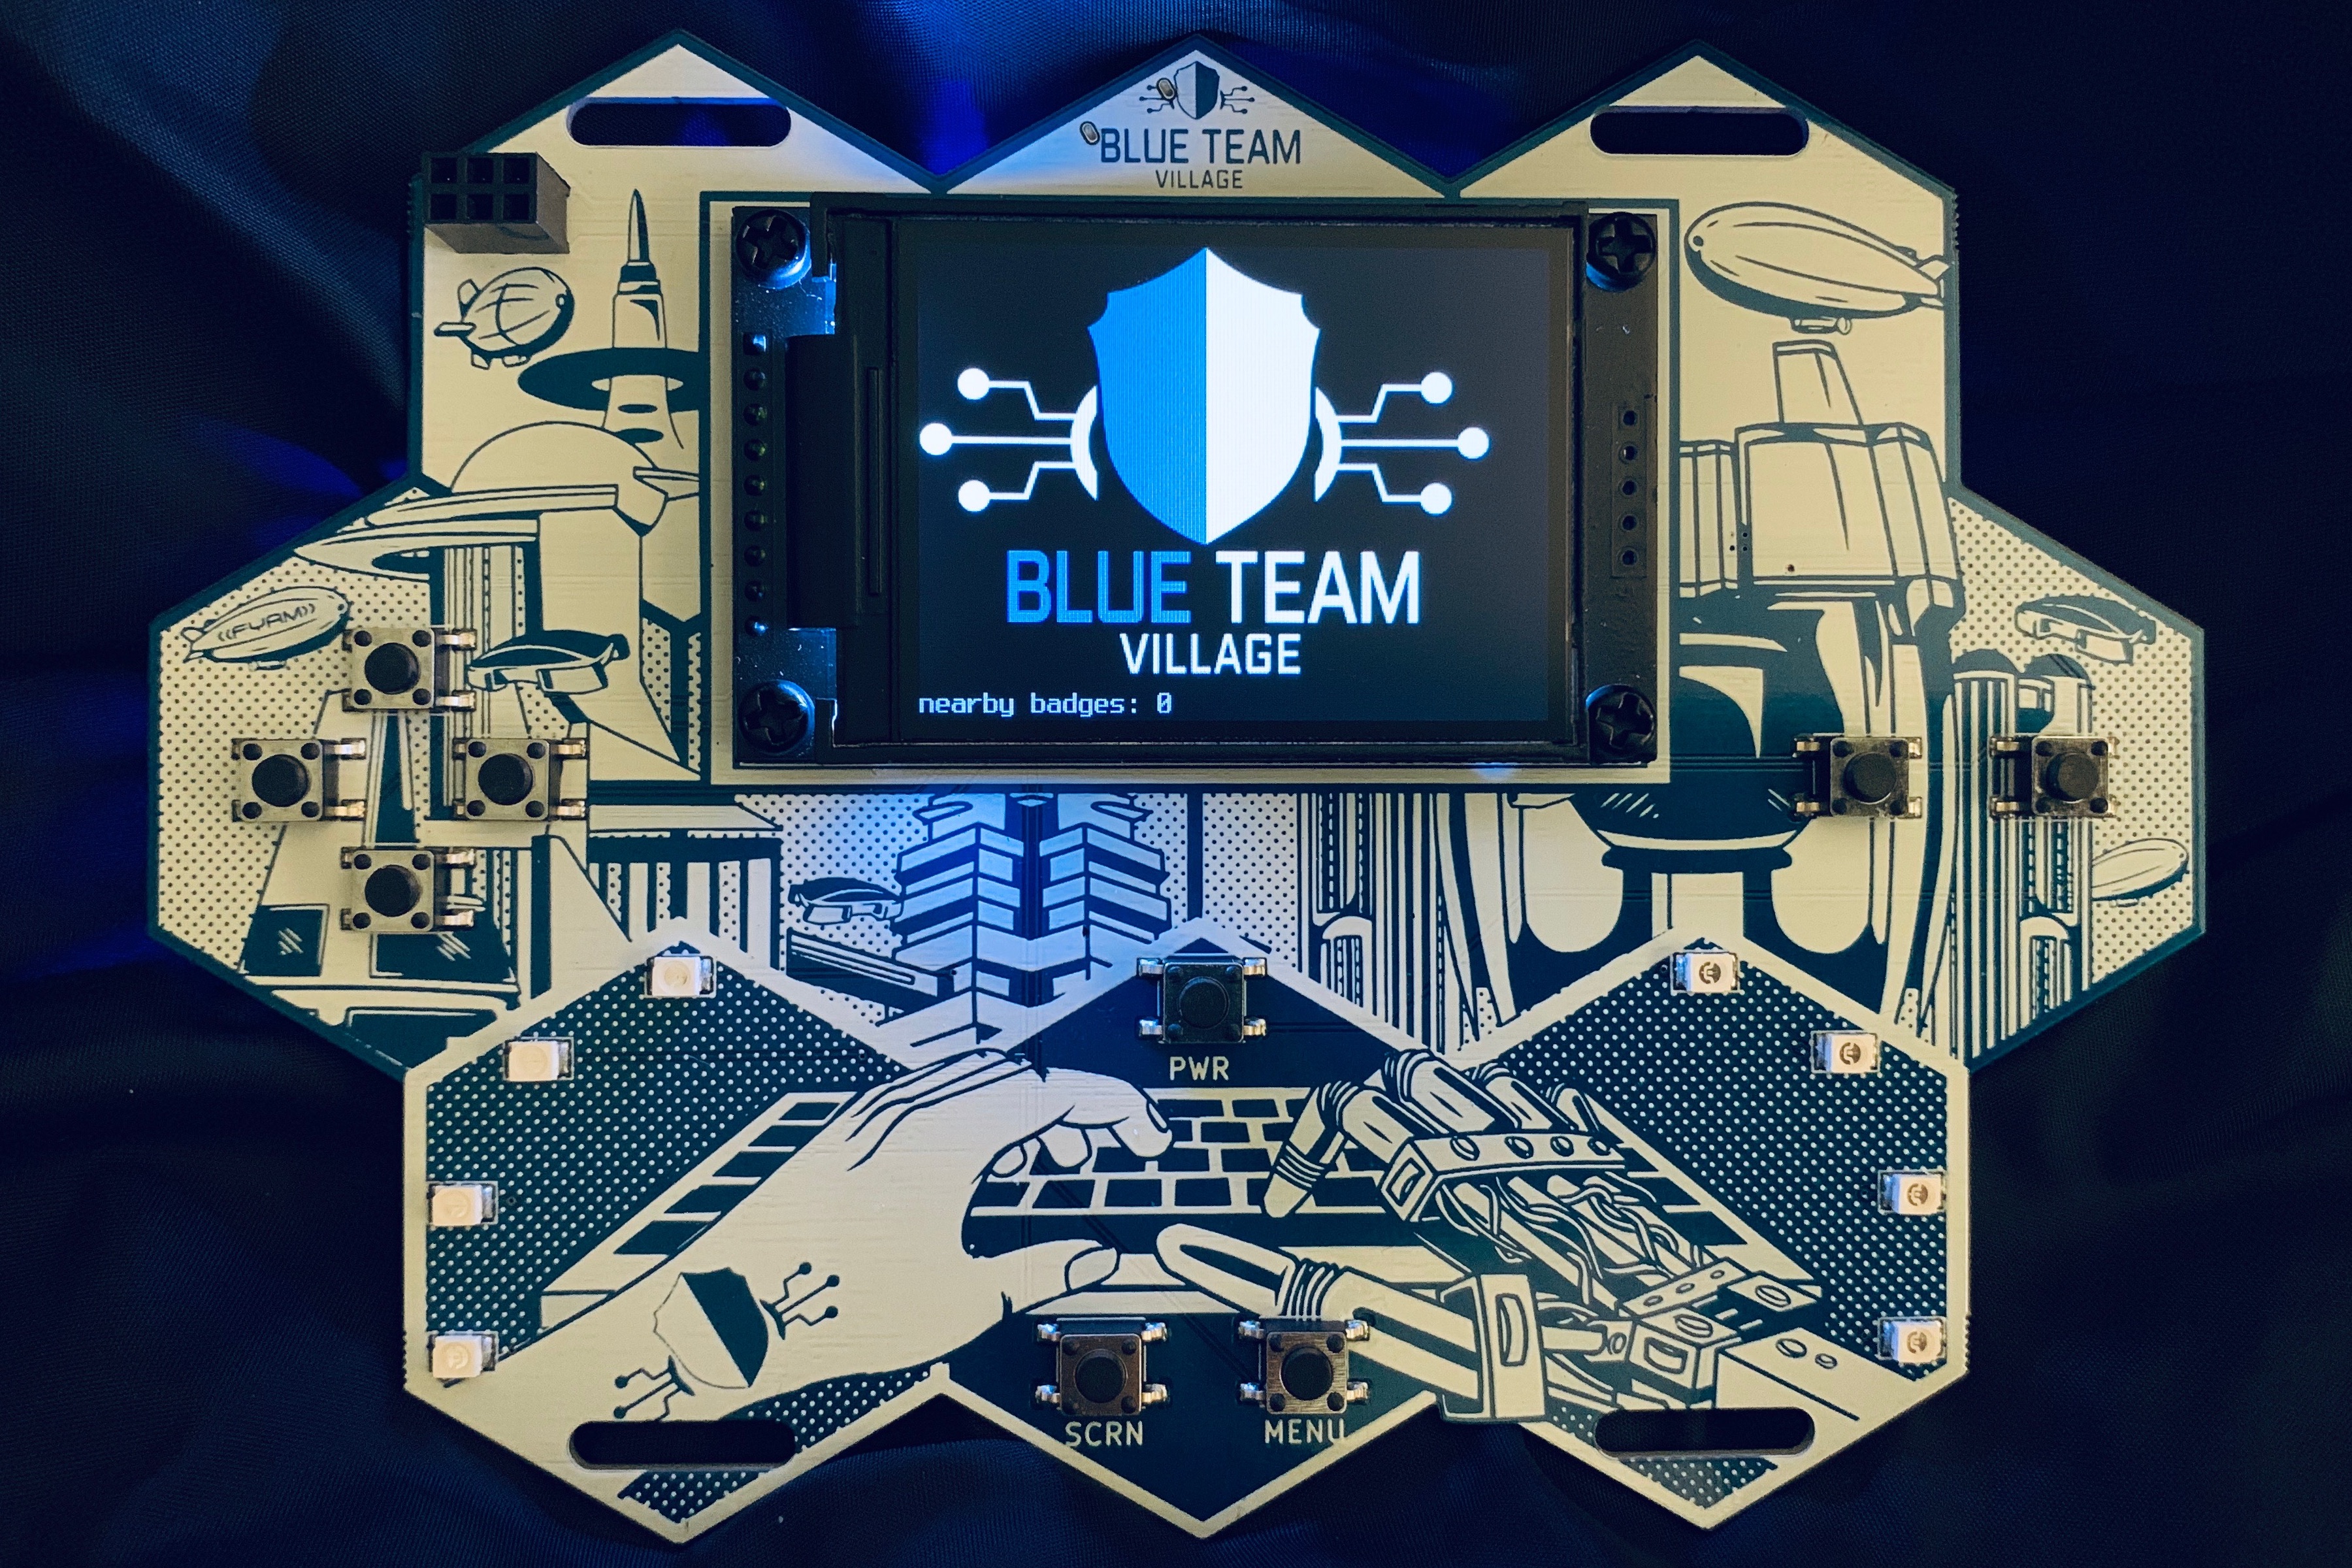
There are a number of great looking electronic conference badges with dozens of LEDs providing impressive visuals out there. The focus on this badge is primarily the honeypot features, but we can’t completely neglect the aesthetics. There have been several revisions on the design, with the first starting after DEF CON 26 in August; a simple arrangement of hexagons.
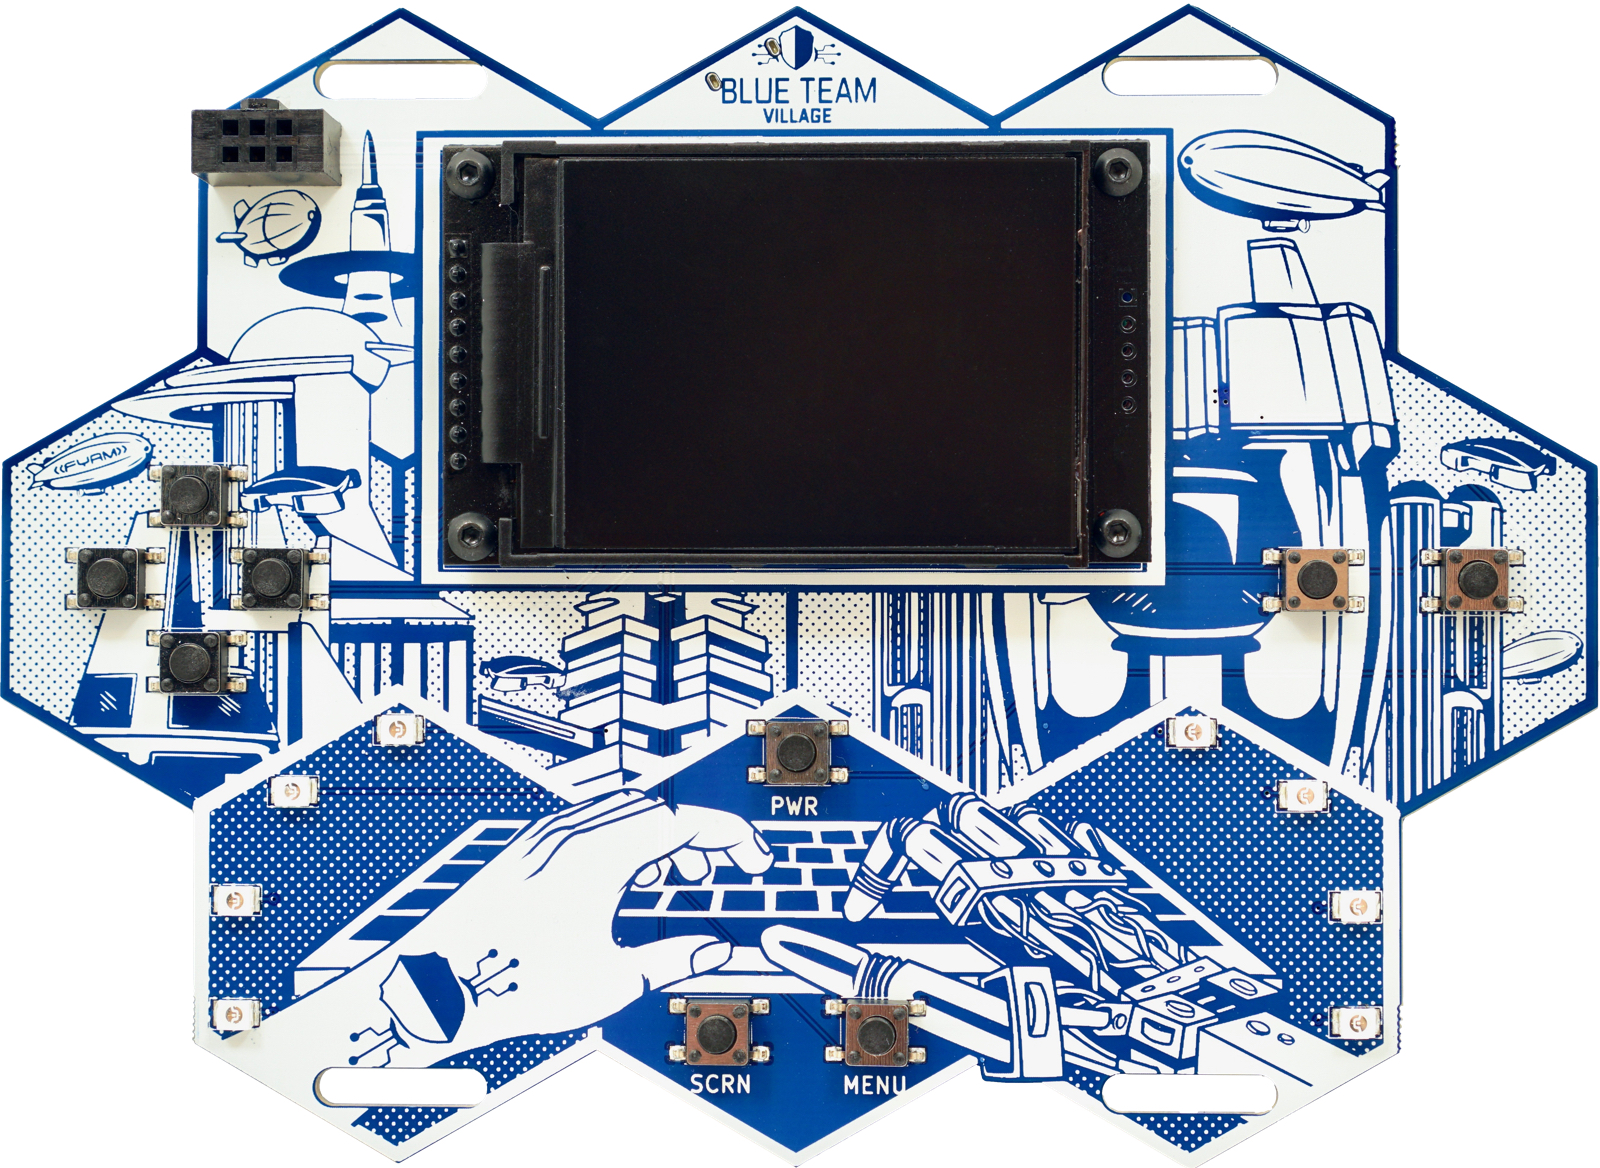
The silkscreen design of the city, is heavily inspired by Arthur C. Clarke’s Childhood’s End (and others, and even his inspiration for Childhood’s End, per his foreword in the version published in the 1990). It also coordinates nicely with the DEF CON 27 theme of “retrofuturism” and the reasons behind the honeycomb shape on the board should now be quite apparent. I tasked several freelance artists for the background silkscreen art, but it was a struggle to get the placement of the components and art to mesh just right. Sometimes the human hand was too large, the robot hand too comical, or the city looked too “current”. It took the better part of a week to learn Pixelmator and get to the mashup that you see here.
The badge uses a Raspberry Pi Zero W Linux SBC as it’s core, with a 2.2" TFT screen, 8 SMD front facing LEDs managed by a 74HC595 shift register, 9 buttons, battery charging circuitry using a well-known and tested charging module with a TPS61090 boost converter and 4400mAh Lithium Ion battery, which will power the device in it’s default setting for over 26 hours between charges. If WiFi is disabled, and the screen brightness lowered to a still readable setting, the badge will use approx 50milliamps at idle, giving greater battery life. LED activity and screen brightness of course decrease this time. With the a platform requiring such a large battery, weight is a concern, but we seem to be okay at (199g), which is just above Brian Benchoff’s awesome Mr. Robot badge (when it is equipped with 4 AA batteries, 154g - so that might not entirely be a fair comparison) and also above the AND!XOR’s 2016 Bender badge (132g). If we replace the 4400mAh battery with a 2000mAh, that will lower the weight below that of the Mr. Robot badge, but decrease battery life accordingly, so we have opted to go with 4400mAh.
The 4-way directional pad, a “B” and “A” button, and three other control buttons are more than enough buttons and horsepower to emulate a number of legacy platforms. You’ll also notice two identical lanyard holes at the top and bottom of the badge. Those were designed specifically to attach another badge in particular, as a memorial to an individual near and dear to the hearts of the Blue Team Village.
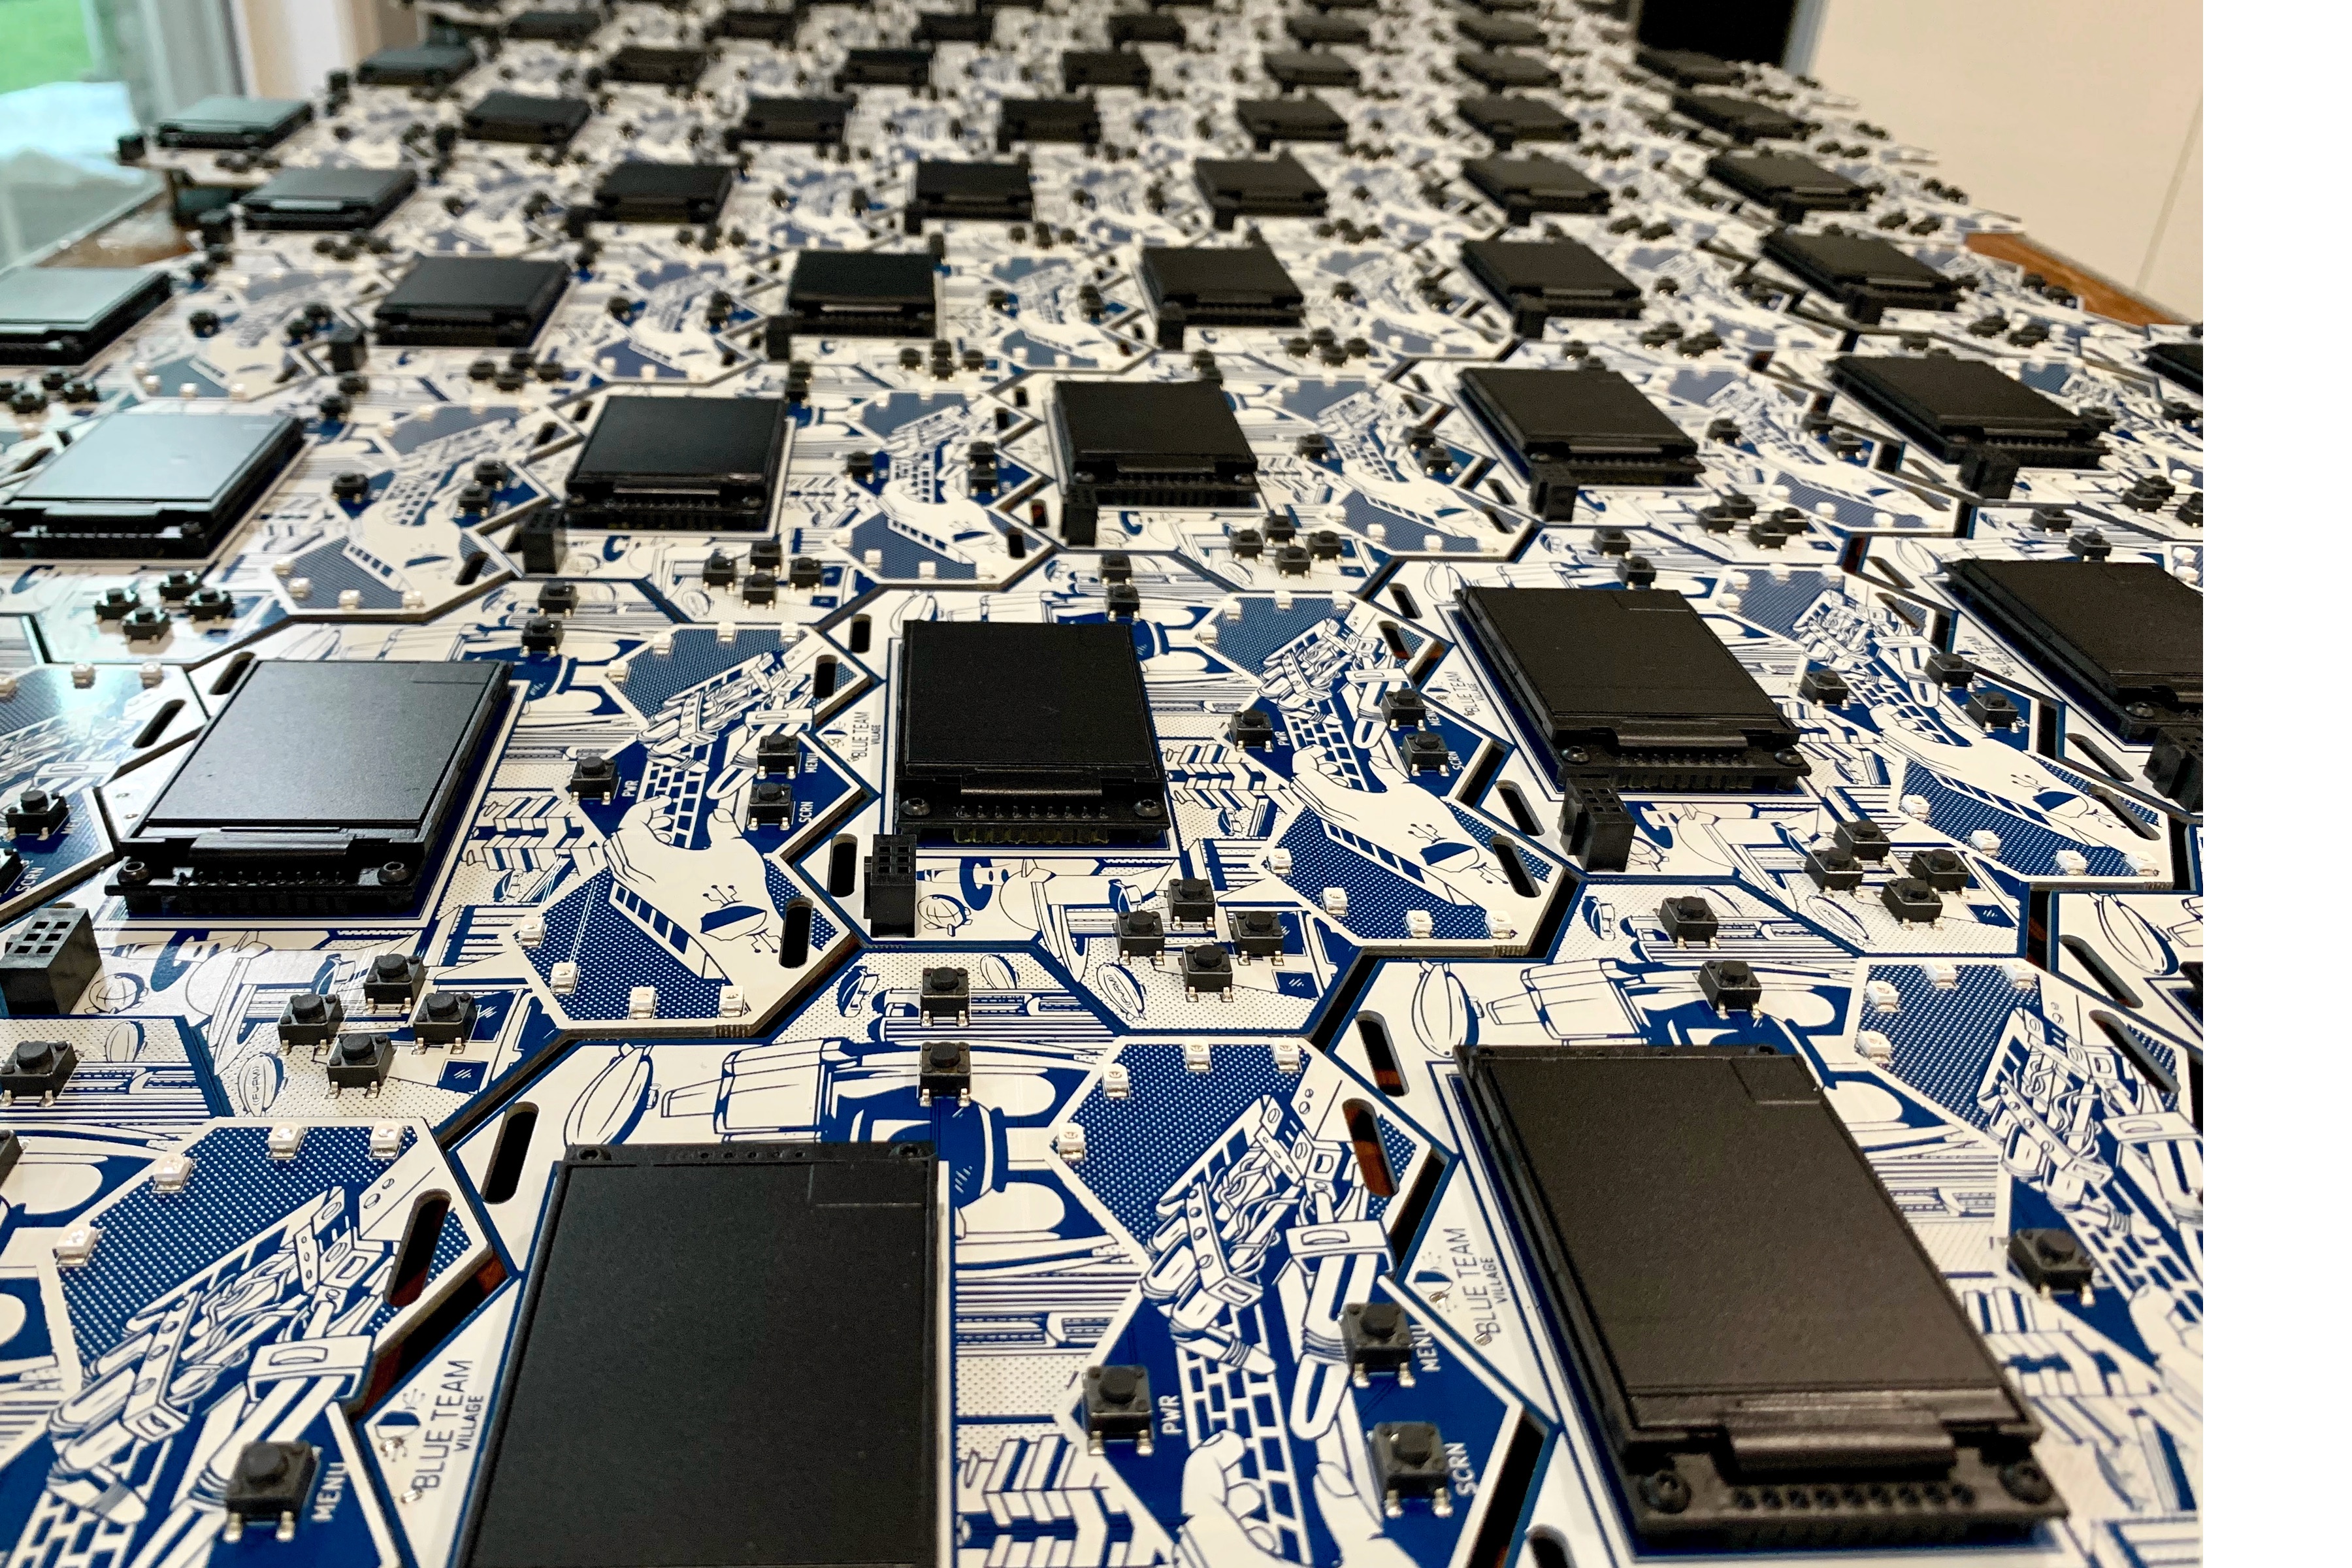
There are currently two versions in the works: a machine assembled version mostly using surface mount components, and a hand assembled version with mostly through-hole components that is easily hand solderable. The latter started out as a contingency in the event any of the machine assembled versions contain uncorrectable errors in time for DEF CON. The factory assembled badges will still require manual soldering of the screen, placement of the Raspberry Pi, standoffs, shield and battery. Even though I assembled and tested the circuitry on a breadboard for many months, I obtained outside help with routing the PCB, component placement and generally making sure things did not catch fire.
This was the first time working with PCB assembly houses, and there is a learning curve with the process, industry terminology and all the minutia that is native to any complex discipline. The painfully obvious difference with hardware development is that testing revisions aren’t as simple as a code change and re-running the program. There is a significant time delay and cost to test even small changes.
The OS started out as Raspbian, with most non-essentials removed and a many tweaks made to reduce boot time down to around 10 seconds and increase battery life to at least 24 hours with a sensibly sized battery.
The text-based interface is a collection of shell and python scripts. Providing a usable interface to control honeypots on a 17x40 screen, with the only input coming from 9 momentary contact switches is another challenge entirely.
The badges communicate via a Wi-Fi network and self-assign an IPv4 address derived from the MAC address. It was easy to use the last 3 octets in the MAC address as the last 3 octets in the IP. 802.1x Wi-Fi pre-registration is not required, these are badges after all.
One of the initial design goals was to create an easily programmable platform requiring no special software, IDEs or hardware. Each badge regenerates a new mostly random root password at every boot, and a console is obtained by connecting a USB data cable to a workstation that supports the RNDIS ethernet driver. Obtain an IP, and simply SSH in to the badge to start hacking. Simple documentation will be on-badge and more complete documentation at the BTV badge GitHub repo shortly before DEF CON 27. If after roaming around DEF CON it is deemed too risky to connect the badge to a laptop via USB cable, with honeypot mode disabled it’s possible to SSH in after connecting to the badge’s WiFi, mitigating the risk of certain attacks (such as bad USB) to the badge owner.


Stay tuned, there are less than two quick months left until DEF CON 27. That leaves plenty of time for panic, last minute additions and updates. Our goals between now and then are to work out any remaining bugs, hope there are no issues with assembly, and then finish up the installation of the remaining components by hand.
For badge updates, check my twitter feed, @JeffYestrumskas, @BlueTeamVillage and back here at the FYRM blog.
Copyright 2008-2025 FYRM Associates, Inc.