By Jeff Yestrumskas | October 10, 2019
Note: For the initial post providing an overview of the features and functions of the DEF CON 27 Blue Team Village Badge overview, please visit Part 1 of 2
Honeypots
The badge had two modes of operation, “badgenet” mode in which each badge connected to an ad-hoc WIFI network for basic communications, and honeypot mode. Each badge starts up with honeypots disabled and when in honeypot mode, the screen text is red, so it is relatively easy to visually spot when honeypot mode was enabled. The honeypot mode fired up a WIFI AP and enabled two honeypots, a high interaction SSH honeypot (cowrie) and the HoneyDB agent which provides a large number of low to medium interaction honeypots. The SSH honeypot has the ability to replay any SSH sessions from attackers directly on the badge screen.
The HoneyDB honeypots stored data directly on the badge itself for retrieval and upload to HoneyDB later. Almost all HoneyDB services were enabled by default, but there is functionality on the badge menu to randomize the services to make each individual badge’s services different than the others.
When a client connects to the badge’s WIFI AP, it is assigned an IP address with a slightly randomized DHCP scope. The badge’s WIFI AP IP is static and derived from the last 2 values in the MAC address of wlan0. We could not rely on the badge’s MAC address for the first octet, therefore it is always a 10. Occasionally a MAC address would convert to a restricted or special IPv4 range, such as multicast, which can cause a number of issues. For example, macOS will not obtain an address from a DHCP server in a multicast range. This issue alone is enough to change to the address scheme.
Generating the WiFi AP IP address:
printf '10.%d.%d.0\n' $(echo `ifconfig wlan0 | grep ether | awk '{print $2}' | cut -d':' -f5,6 | sed 's/://g'` | sed -r 's/(..)/0x\1 /g')
For example: ba:ba:ba:0x:be:ef –> 10.190.239.x
The DHCP scope is then set with a base value of 10.190.239.$random to prevent clients from retrieving a lower allocation in the space, which may signify no other clients on the network and raise suspicion.
All DNS lookups for connected clients resolve to the badge’s IP and all traffic is routed to the badge.
HoneyDB logs are stored on each badge and are retrieved by a few master badges that possessed the private keys for all badges, unless disabled by the user of course. There were a few drawbacks and complications with this approach that we’ll go into later on in the post. However, we were able to pull data from about 75 badges at various times throughout the conference. Of those, a smaller number had actual honeypot data with connected clients, for any number of reasons:
- User never enabled honeypot mode
- User only enabled honeypot mode and was not in badgenet mode when any of the collector badges were nearby, therefore preventing collector badges from obtaining honeypot data
- If in badgenet mode with honeypot data in an area with a very congested 2.4ghz spectrum, collector badges were unable to pull data from the badges. Unfortunately, this was the case in the Blue Team Village and nearby hallways.
A huge thanks to HoneyDB for setting up a dashboard specifically for the Blue Team Village, where the data can be found. After we retrieved and uploaded the data, we can easily see the services, number of clients, and data that were transmitted and received for each of the enabled honeypots.
From the data, it appears most of the activity is from devices automatically connecting to open WIFI access points and not performing any sort of active reconnaissance, given the excessively large number of HTTP requests. There were a few mobile phones, several laptops that had services calling home, and captive portal checks.
Despite the challenges with pulling honeypot data, from the limited data set we do have, it appears that an open WIFI AP is not going to attract much malicious attention. This is probably due to the high number of sanctioned challenges and contests and the overall maturity of the DEF CON crowd. Gone is the DEF CON of the Alexis Park.
Challenge
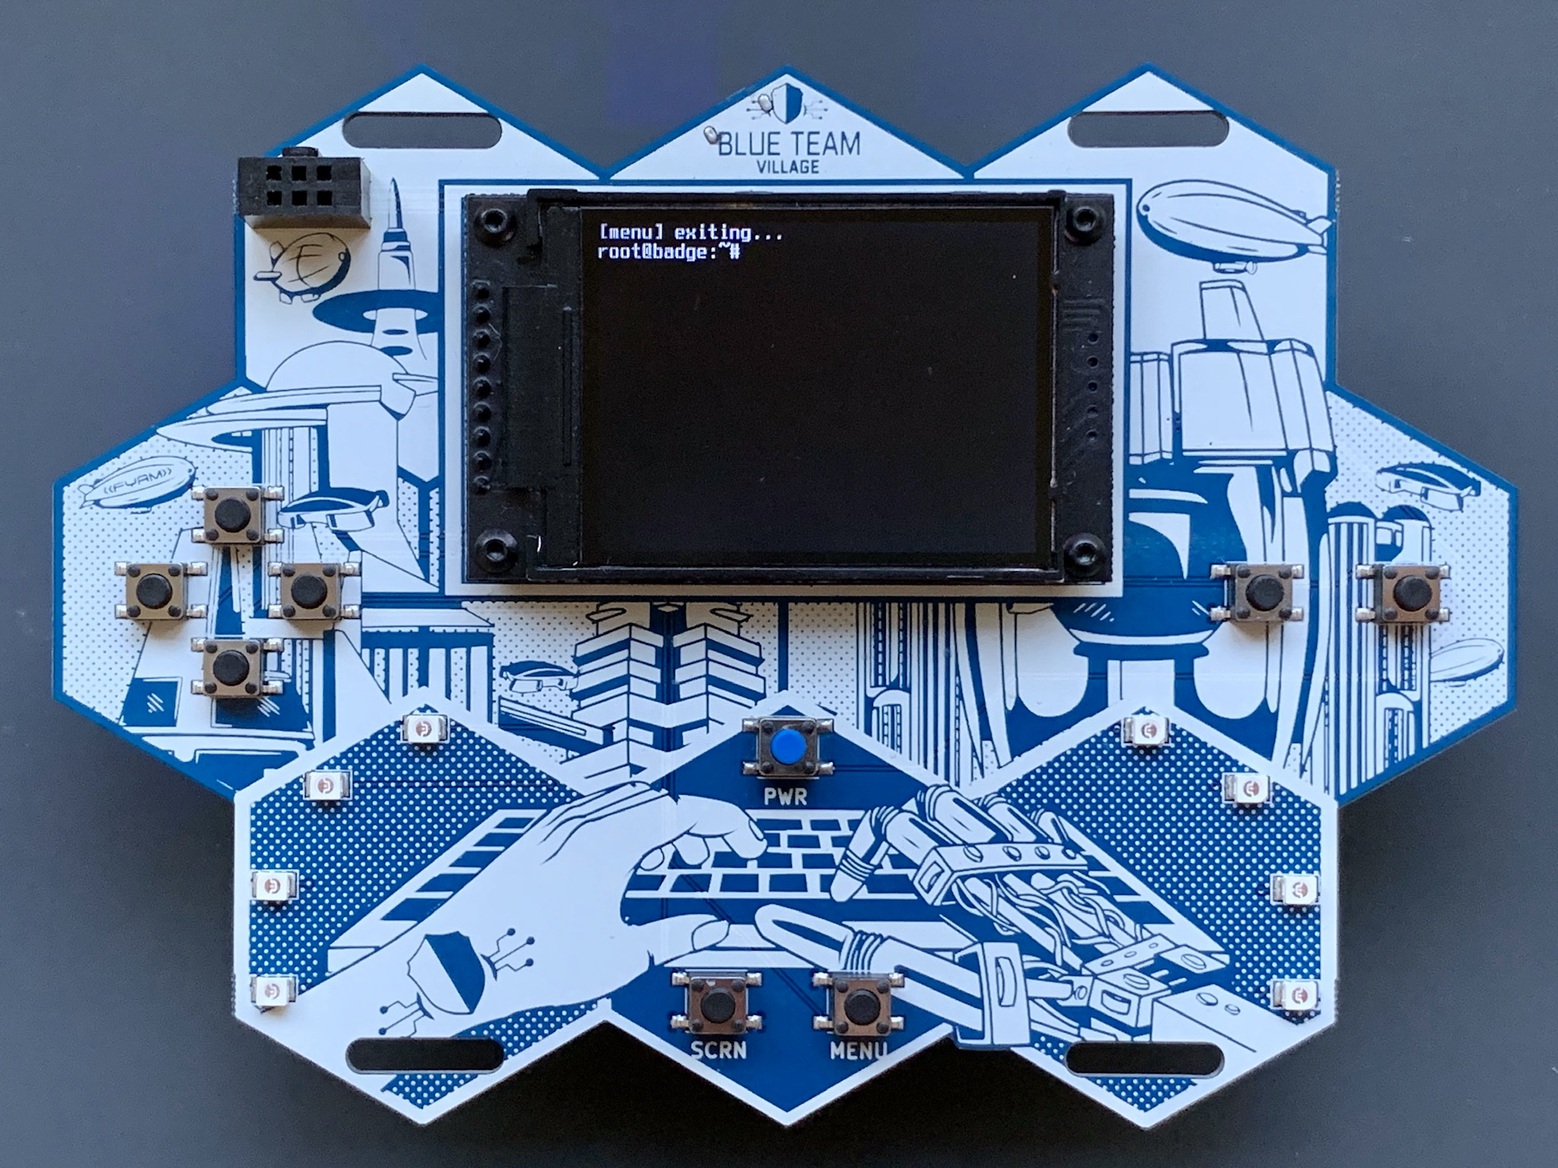
Hidden on the badge was a progressive puzzle and cryptography challenge, with the first clue residing in the button layout. With 4-way directional buttons on the left, and 2 trigger buttons on the right side, this gives enough input for the user to enter the “Konami code”. To enter the code, one must drop to a fake root shell. To get to the fake on-badge shell the user must exit the main badge menu by selecting the “esc” option. Once in the fake shell, correctly entering in the Konami code decrypts the Konami code unlockable addon and a new entry is present in the “unlocked” sub-menu. Navigating to the Konami unlockable displays a message alluding to other items that may be unlocked.
On the badge’s filesystem, there is a python script that handles button input as well as decryption of unlockable functionality. When a user drops to the fake shell, the input handler is switched to the unlock handler, meaning button presses are monitored for a specific sequence of presses. Each button is mapped to a letter: U,D,L,R,B,A. After 5 seconds has elapsed, the button sequence (UUDDLRLRBA, in the case of Konami code) plus a salt is hashed using sha256, and if the hash matches an element in a list of precomputed hashes, then the value (button presses + salt) is used as a secret key to decrypt the respective add-on.
Some of the addons are not useful without the badge private key, such as the admin addon. Other addons simply cannot be unlocked in the default 5 second time allocation due to the time it takes to physically press the keys and the speed in which key presses are registered. And one addon requires more than the letters “UDLRBA” to be unlocked, but more on that below.
I was confident the cryptography implementation was fairly sound, given we’re using native tools and well-known algorithms, but just in case, somewhat of a canary is included. I knew that if user had unlocked all of the unlockables, including “expert”, then it is very likely that there was either a weakness in the implementation or they recovered the unlockable accidentally sitting in filesystem unallocated / free space, compromised where the keys are stored, or another unexpected method.
A few measures were taken to prevent forensic recovery of unlockables while developing on a test badge and then finalizing the production badge image.
- I had worked heavily with The Coroner’s Toolkit (TCT) about 20 years ago. TCT was written by Dan Farmer and Wietse Venema and was the suite of open source forensic tools to use. They still live on today, in The Sleuth Kit (TSK). TSK was utilized to ensure the gold image did not contain either all of the badge’s private SSH keys or any unlockables in clear text.
- The badge OS gold image only contains 2 partitions, /boot and /. This image is 3GB and does not contain data in the /badge/data folder. /badge/data is where all user data resides, including unlockables. All unlockables reside encrypted in /badge/unlocks/[name].sh.asc and then when unlocked, are written to /badge/data/unlocks. For testing purposes, I had to make sure data was never written to a filesystem that might end up accidentally cloned to all of the badge micro SD card, so at first boot, a new partition is written filling up the rest of the card and resides at /badge/data. The data directory and partition was used to make development on the gold image more convenient while reducing the risk of forensic recovery of the private keys or unlockables.
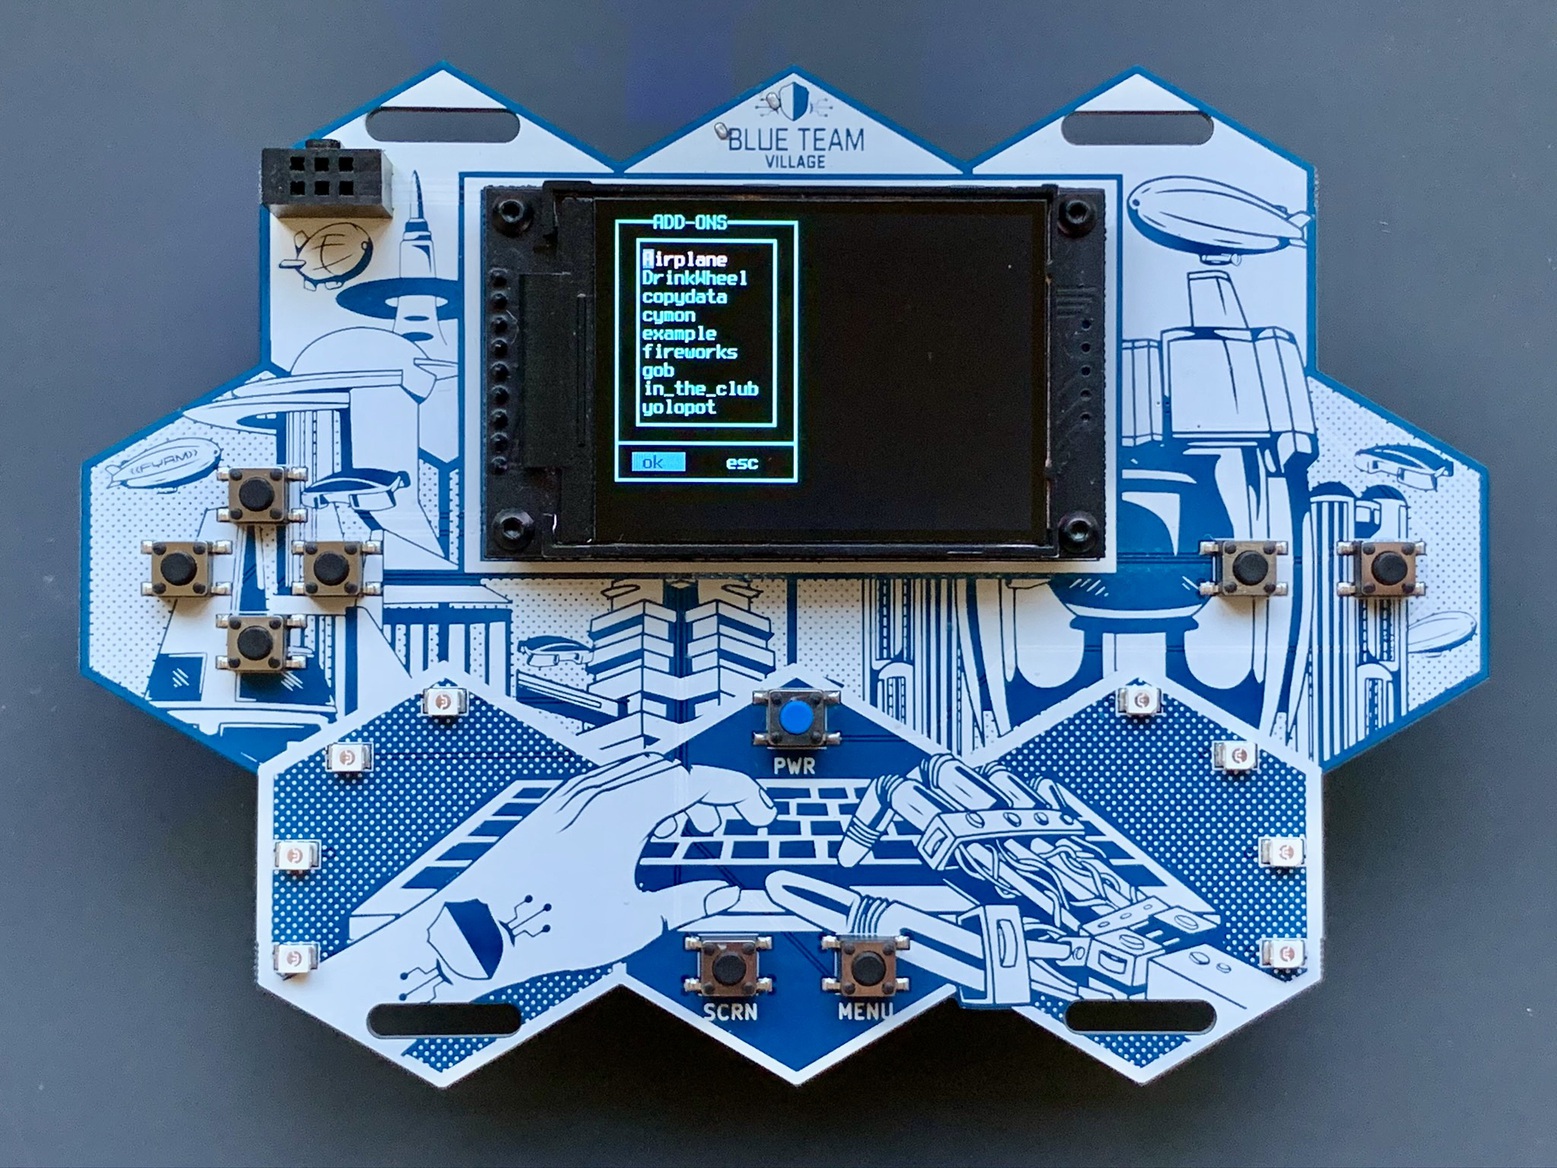
The unlockables on the badge are found in the /badge/unlocks/ directory. Here is a list and a short description of each:
- Konami – Konami code unlockable, displays a message alluding to further secrets to unlock.
- admin – adds an item to the main menu with admin functions. This is only useful for the few admin badges with private keys.
- debug – adds an item to the main menu allowing for more granular service control, among other things. Primarily used for debugging the badge.
- moonbuggy – the classic console game moonbuggy, with settings and a console font to make the game exceptionally playable on the badge
- netris – the classic console game netris, with settings and a console font to make the game playable on the badge. Network play was planned, but not enabled due to time restrictions.
- da – an ESP8266 de-auther default password changer. This unlockable will disconnect the badge from badgenet, randomize the MAC address, scan for ESP8266 de-authers with default credentials, and if found, change the default SSID and password to preconfigured values. “Active defense” if you will.
- easy, medium, hard, expert: all part of the crypto challenge, these are solved either by guessing (possible with easy), brute forcing with a scripting language or hashcat (possible with medium or hard), and then exploiting a flaw in the implementation or some other advanced technique is required for expert (although it might be possible with hashcat). Each of the medium, hard, and expert unlockables displays a small ascii art image when unlocked, as an easy way to verify if the badge owner had completed that level.
We saw three methods employed for unlockables. Obviously, user button input, then brute forcing using a scripting language, and then brute forcing with hashcat. All 3 are valid, but hashcat is likely to be the most effective of the 3.
There is an excellent write-up by a badge owner (external link) that walks through a black box approach to solving the challenges.
Communications
After performing final assembly of the badge (installing battery, micro SD cards, testing and packaging each) in a Vegas hotel room, we tested badgenet communication with approximately 40 badges powered on in close proximity. All badges were able to communicate with each other, quickly and without issue. However, in the real world the conditions were significantly different. Pulling honeypot logs or pushing out add-ons or updates to badges may have taken seconds in a secluded area, but in the villages or any congested conference space, updates and communication would take minutes, or not complete at all. We found that the best place to update badges quickly was in an elevator. As mentioned above, this severely limited the abilities to pull honeypot log data, push out badge updates, or push out any fun last-minute add-ons.
Add-ons
A number of add-ons were created after the code freeze and we’ve updated the BTV badge GitHub repo with all of those. Some badge owners were able to receive these as they were pushed out at random times throughout the conference. This was also the case for updates.
Updates
A few bugs were found that affected a small number of badge’s DHCP server. They were subsequently fixed and pushed out on day one of the conference. If you have a badge and did not receive an update (badge version dated 20190801 or older), the latest version can be obtained at the BTV badge GitHub repo.
Easter Eggs
What Are You?
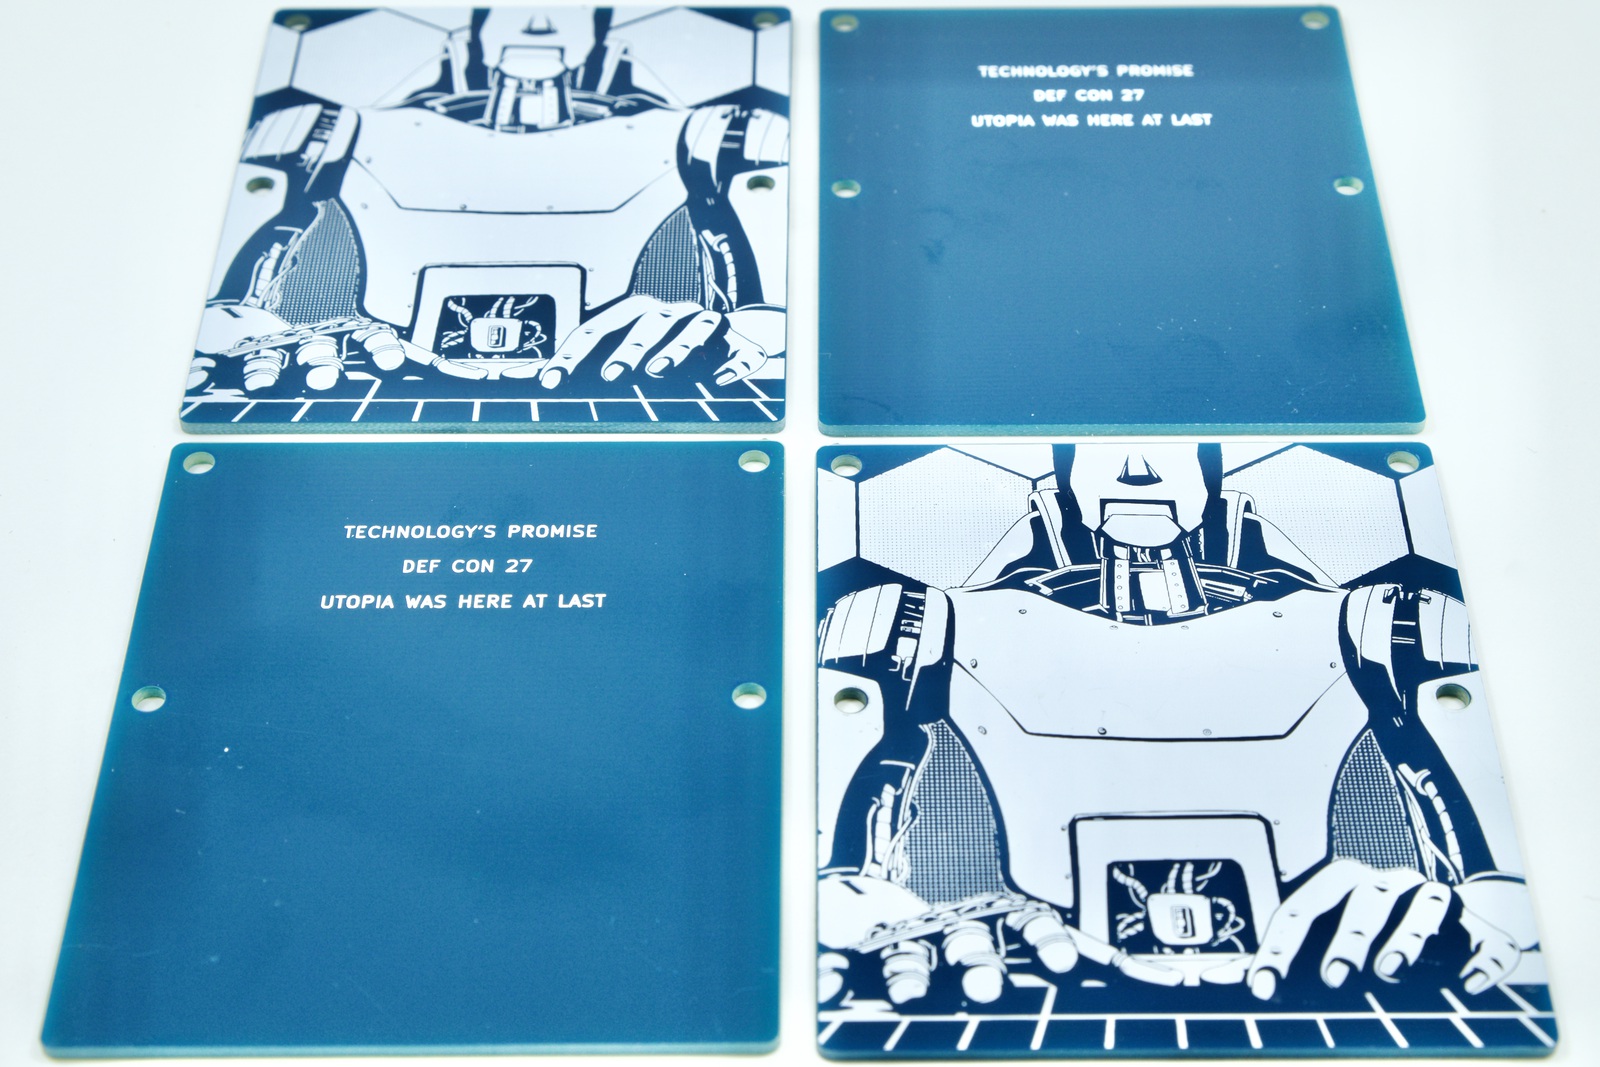
DEF CON 27’s theme is “technology’s promise”, which entails a future in which technology is leveraged to provide a better future for humanity. The art on the front of the badge is shown from the perspective of the badge owner, with two hands at the keyboard, the left hand a human hand, the right hand a robot hand. The presented implication is that prosthetics have improved to the level seen in Star Wars, when Luke’s hand is replaced with an advanced cybernetic hand after it’s untimely demise as a result of a swipe from Darth Vader’s lightsaber. On the reverse of the badge, there is a PCB shield covering the RPI Zero and battery. The shield’s art shows the reverse perspective, with a robot and a human hand – technology has provided replacements for all components but the human hand is the last remaining physical appendage.
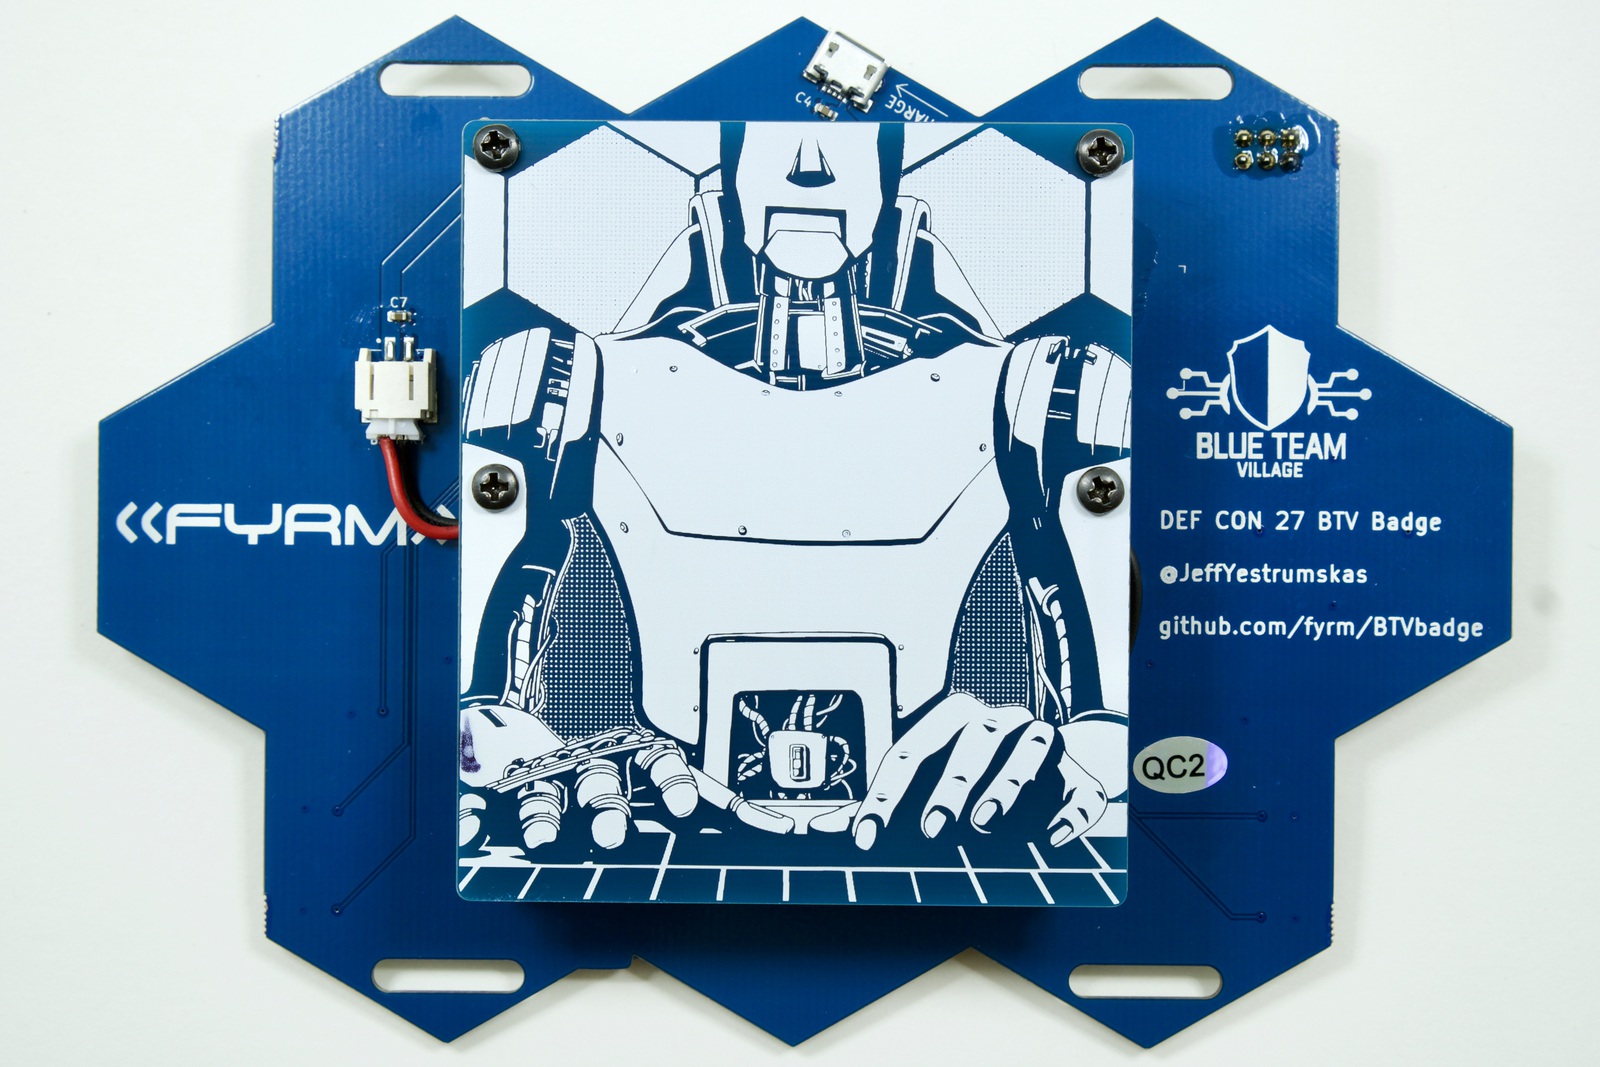
Utopia
The badge’s art was heavily inspired by the works of Arthur C. Clarke, and underneath the PCB shield (visible only when removed from the badge) is the first part of a quote from Childhood’s End: “Utopia was here at last”. The remainder of the quote, but not printed on the PCB is, “its novelty had not yet been assailed by the supreme enemy of all Utopias—boredom”
Trivia
Software
- The ANSI art scroller on the badge is not actually scrolling at any baud rate of the BBS era, and it wasn’t actually scrolling ANSI art images. It was instead scrolling bitmap images of ANSI art. Writing to the Linux framebuffer device is done in a piped fashion. Each ANSI image came from a PNG on an ANSI art archival site (Sixteen Colors), was converted to bitmap, placed into an array, and the starting point and ending point of the bitmap is shifted upwards in the array and piped to the framebuffer device to simulate scrolling.
- Same goes for the “animated GIF” add-ons that some badge owners have received. The animated GIFs are bitmaps sequentially piped to the framebuffer device.
- The “yolopot” addon connected the badge to a WIFI network of the owner’s choosing and enabled honeypot mode, effectively turning the badge into a honeypot client instead of honeypot AP. The initial intention was to connect badges in honeypot mode to DefCon-Open, but client isolation appeared to be in play, thus negating any usefulness of this mode on that network.
- The private keys for all badges (for updates, etc) were present on badges with blue PWR buttons to make it easy to spot and protect the trusted badges.
- The RPI does not have a built in real-time clock, therefore, no way to really keep accurate time after a power cycle. Trusted badges pushed out time on a set frequency to badges within range.
Hardware
- Rather than drive the LEDs directly using the RPI GPIO ports (and a MOSFET), a shift register is used. This significantly cut down on CPU utilization, and extended battery life in our testing.
- Each badge took approximately 25 minutes to assemble and individually package. This involved installing the screen and RPI standoffs, soldering the screen, applying conformal coating, installing the RPI, testing, installing the shield and soldering the SAO.
- All badges were brought to Vegas in carry-on luggage, spread amongst 5 of us. Some had better luck than others traversing the TSA, but it was the only way to almost guarantee arrival. Each regulation size carry-on suitcase can house about 35 badges, with the rest ending up in backpacks.
- The batteries were driven up separately and then installed in Vegas. Each took about 10 minutes to unpackage, remove the shield, install double sided tape, reinstall, install micro SD card, test, power off and then repackage.
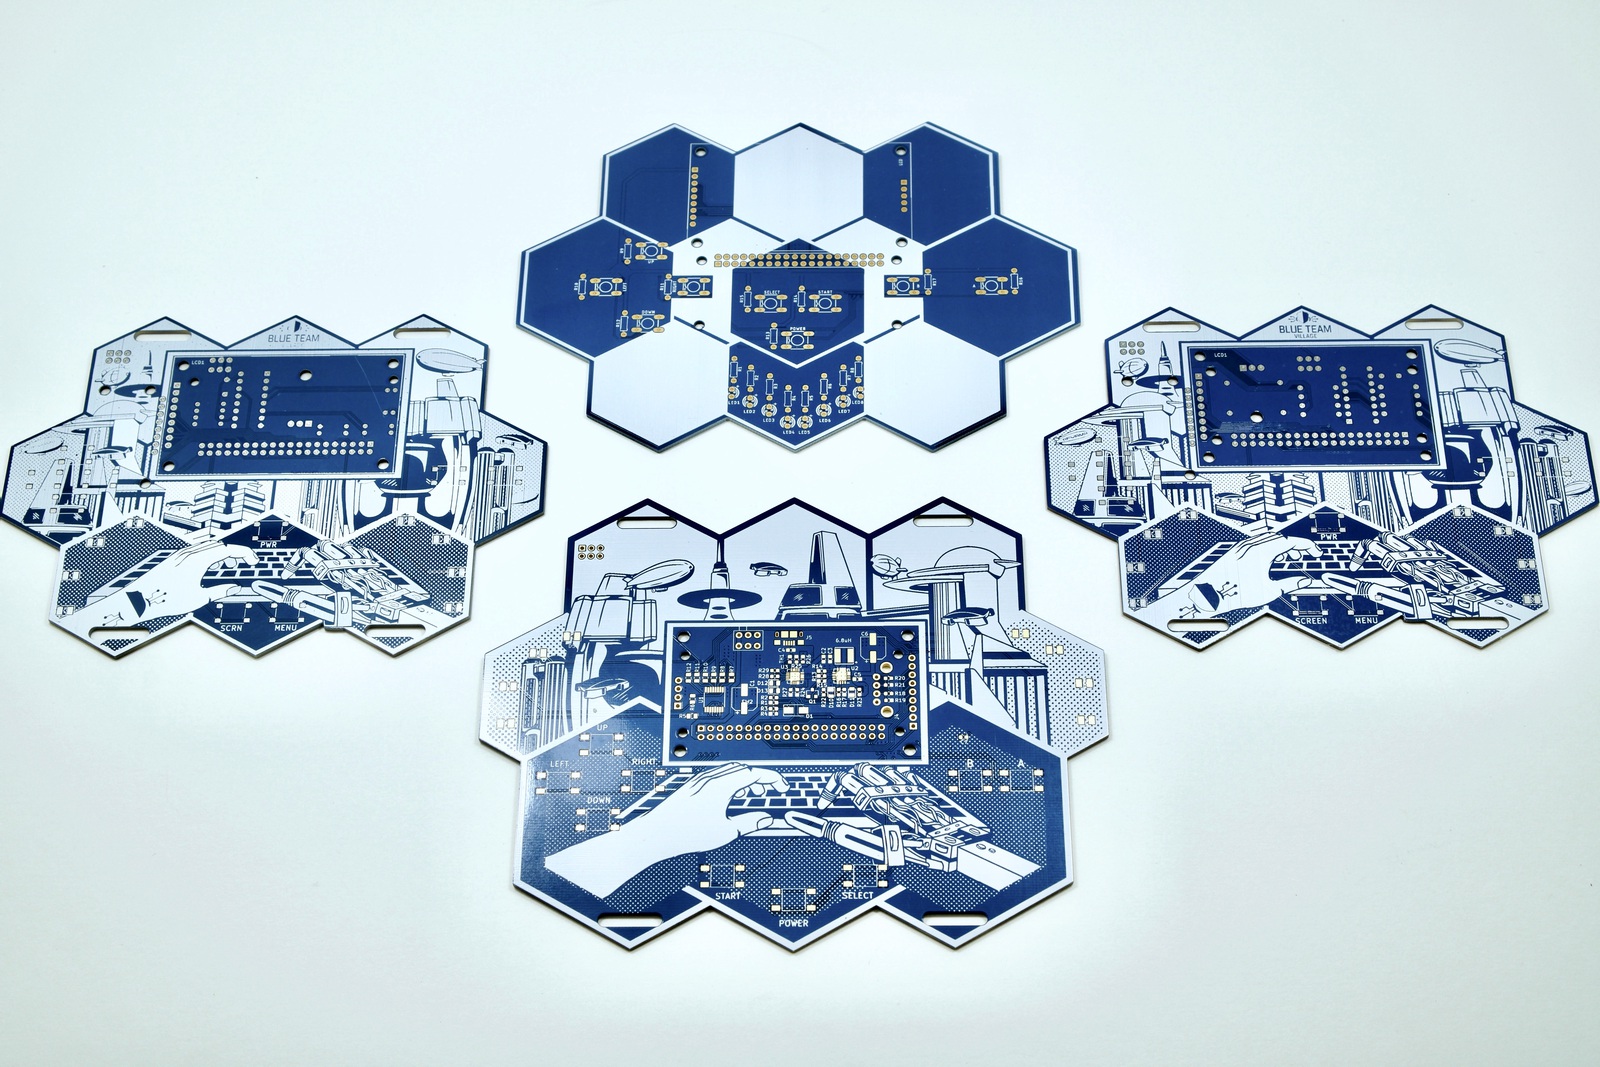
Prototypes
A modular hand-solderable version of the badge was planned in the event there were issues with the PCB. Here are a few of the earlier protoypes as well as the hand solderable PCBs (left and right). The hand solderable versions have nearly all the same components: shift register, charging circuitry, LEDs, screen, etc. The PCB on bottom is a near-final prototype using a slightly larger PCB and with a non-ideal proportion and shape.
Conclusion
It was great to see folks genuinely excited about hacking on the badge and there were many excellent conversations as a result. Medium-scale electronics development and production is an unexpectedly massive undertaking, and I’ve developed a greater appreciation for all those that put in the blood, sweat, and tears for their hardware projects.
There are still a few not-yet-discussed features and functions on the badge and it can do much, much more. After all, it is effectively a portable computer. Documentation to create and install your own add-ons on the badge is simple, and instructions are at the BTV badge GitHub repo. There is no need to mess with the main menu routines. And if you need a break from all of the hacking, the badge just happens to have enough buttons and horsepower to blow off steam as a classic game emulator.
For any additional BTV badge items, check my twitter feed, @JeffYestrumskas, @BlueTeamVillage and back here at the FYRM blog.